| .. | ||
| README.md | ||
Python Setup Tips
There are several different ways you can install Python and set up your computing environment. Here, I am illustrating my personal preference.
(I am using computers running macOS, but this workflow is similar for Linux machines and may work for other operating systems as well.)
1. Download and install Miniforge
Download miniforge from the GitHub repository here.

Depending on your operating system, this should download either an .sh (macOS, Linux) or .exe file (Windows).
For the .sh file, open your command line terminal and execute the following command
sh ~/Desktop/Miniforge3-MacOSX-arm64.sh
where Desktop/ is the folder where the Miniforge installer was downloaded to. On your computer, you may have to replace it with Downloads/.
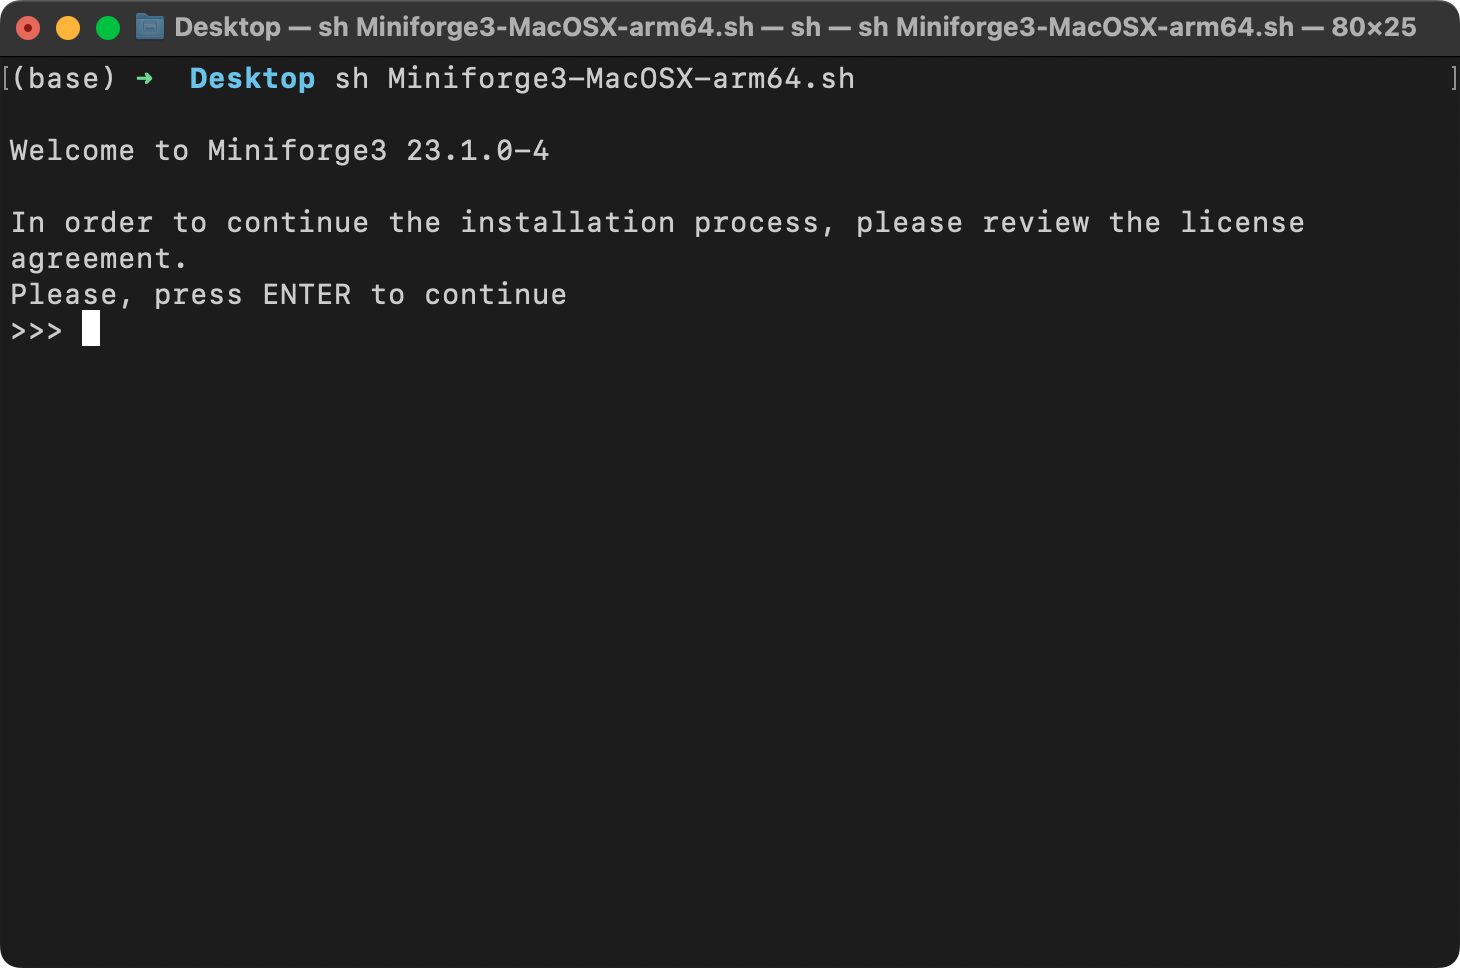
Next, step through the download instructions, confirming with "Enter".
2. Create a new virtual environment
After the installation was successfully completed, I recommend creating a new virtual environment called LLMs, which you can do by executing
conda create -n LLMs python=3.10
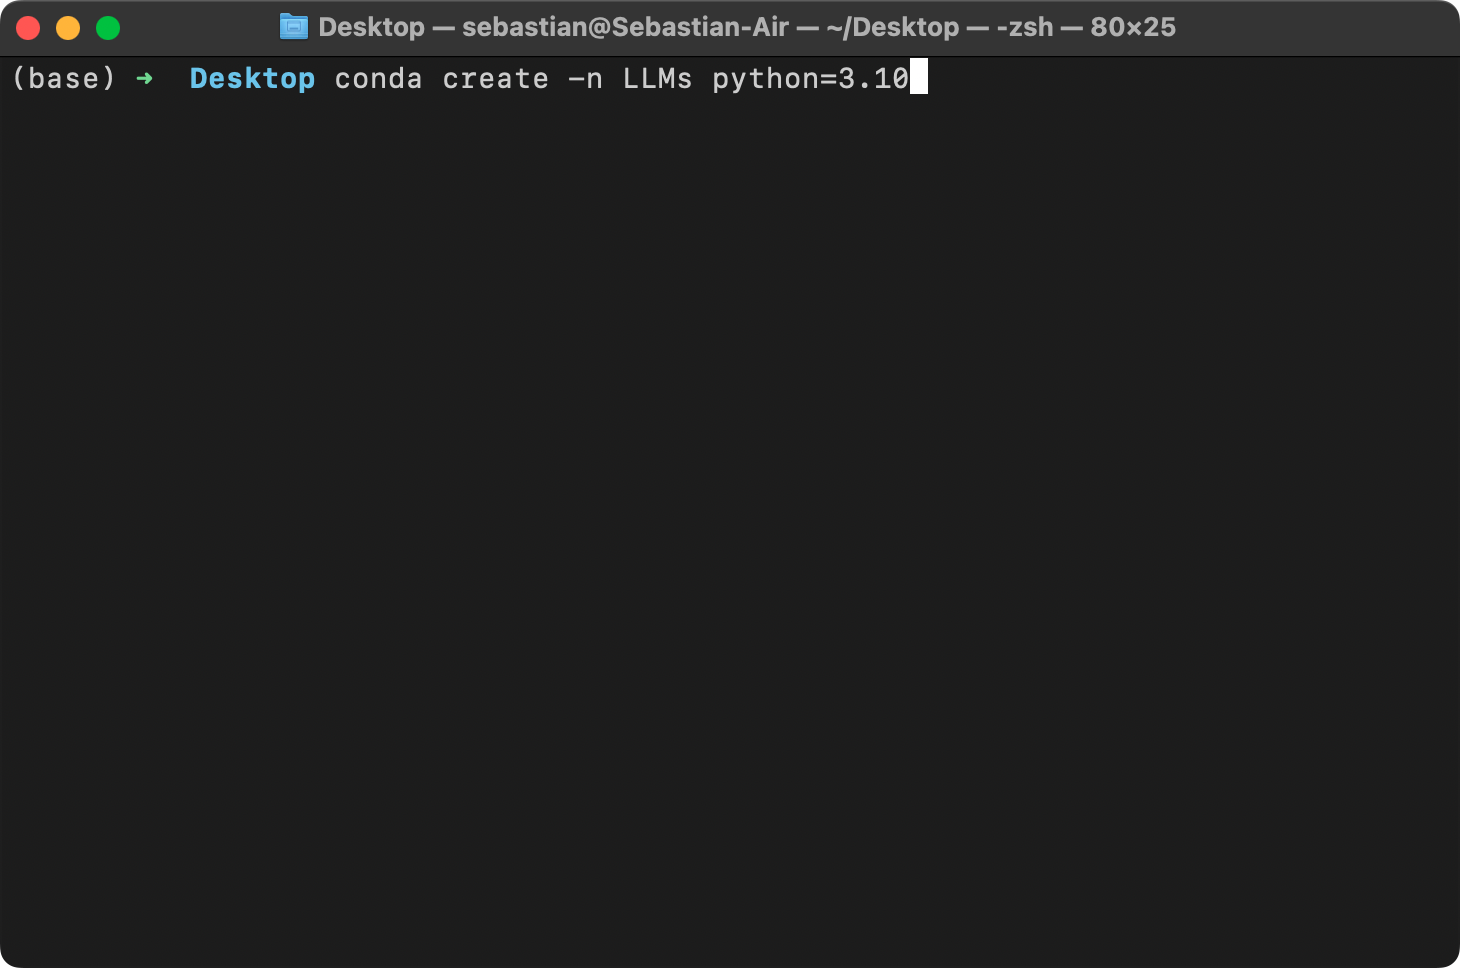
Many scientific computing libraries do not immediately support the newest version of Python. Therefore, when installing PyTorch, it's advisable to use a version of Python that is one or two releases older. For instance, if the latest version of Python is 3.13, using Python 3.10 or 3.11 is recommended.
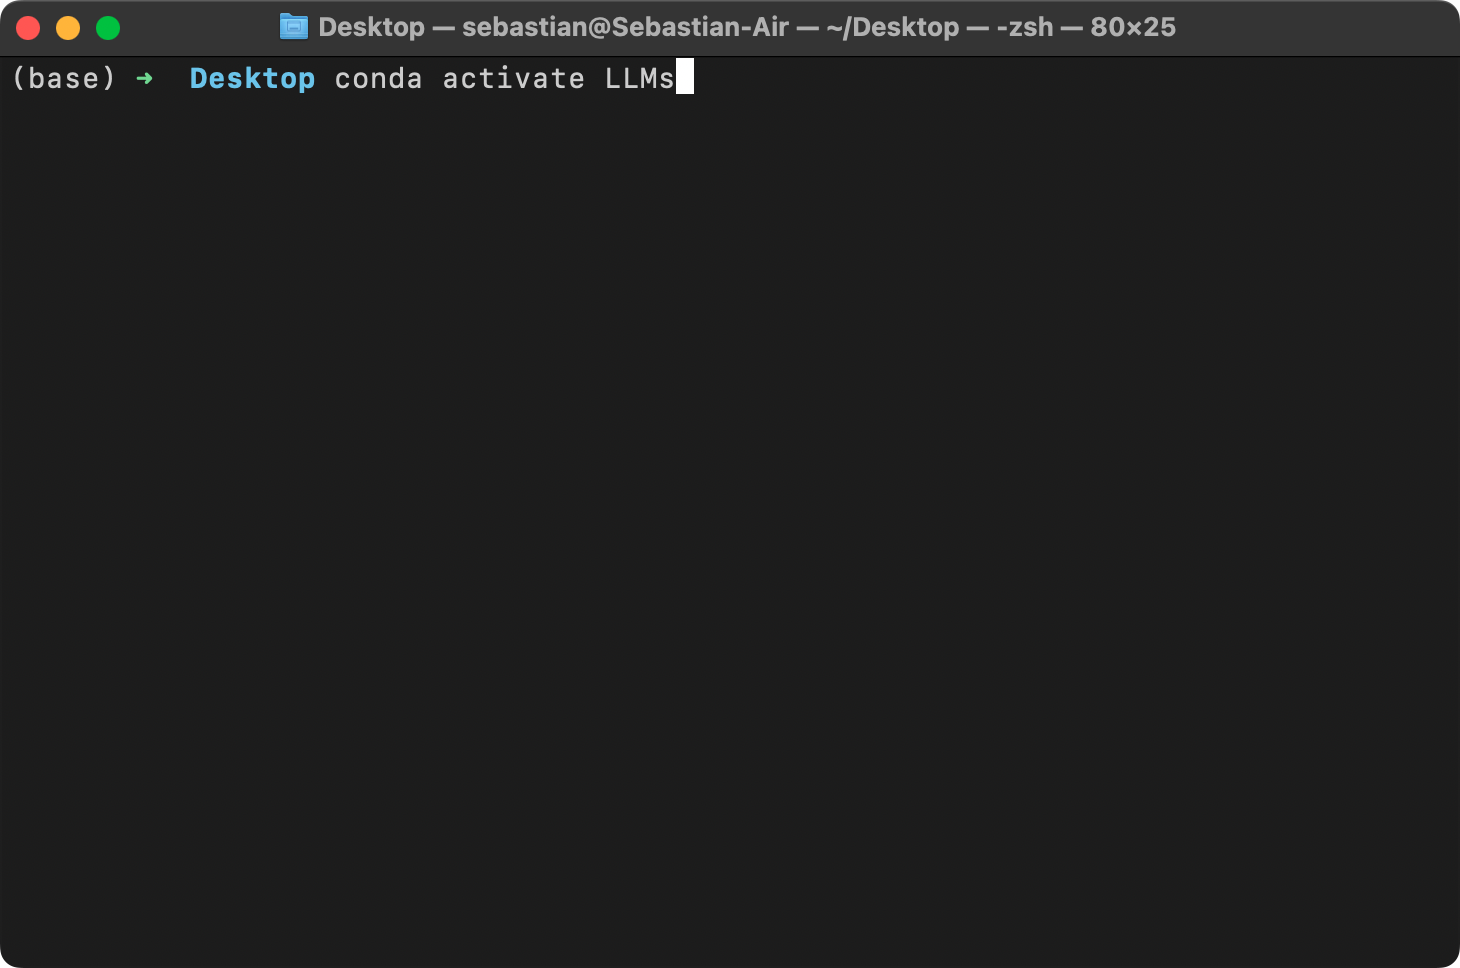
Next, activate your new virtual environment (you have to do it every time you open a new terminal window or tab):
conda activate LLMs
Optional: styling your terminal
If you want to style your terminal similar to mine so that you can see which virtual environment is active, check out the Oh My Zsh project.
3. Install new Python libraries
To install new Python libraries, you can now use the conda package installer. For example, you can install JupyterLab and watermark as follows:
conda install jupyterlab watermark
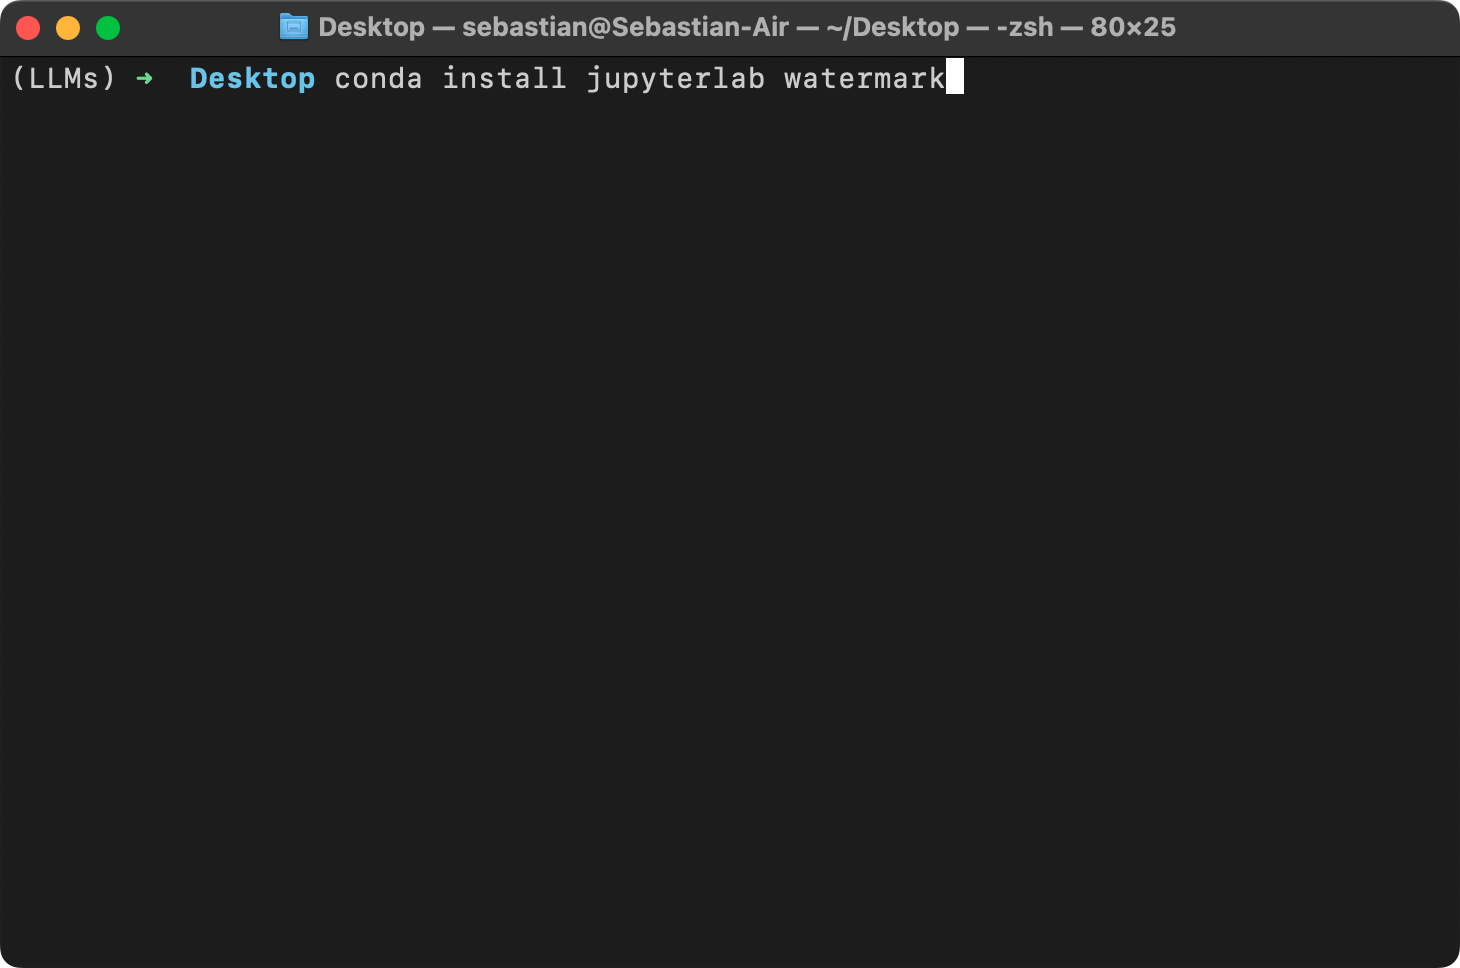
You can also still use pip to install libraries. By default, pip should be linked to your new LLms conda environment:
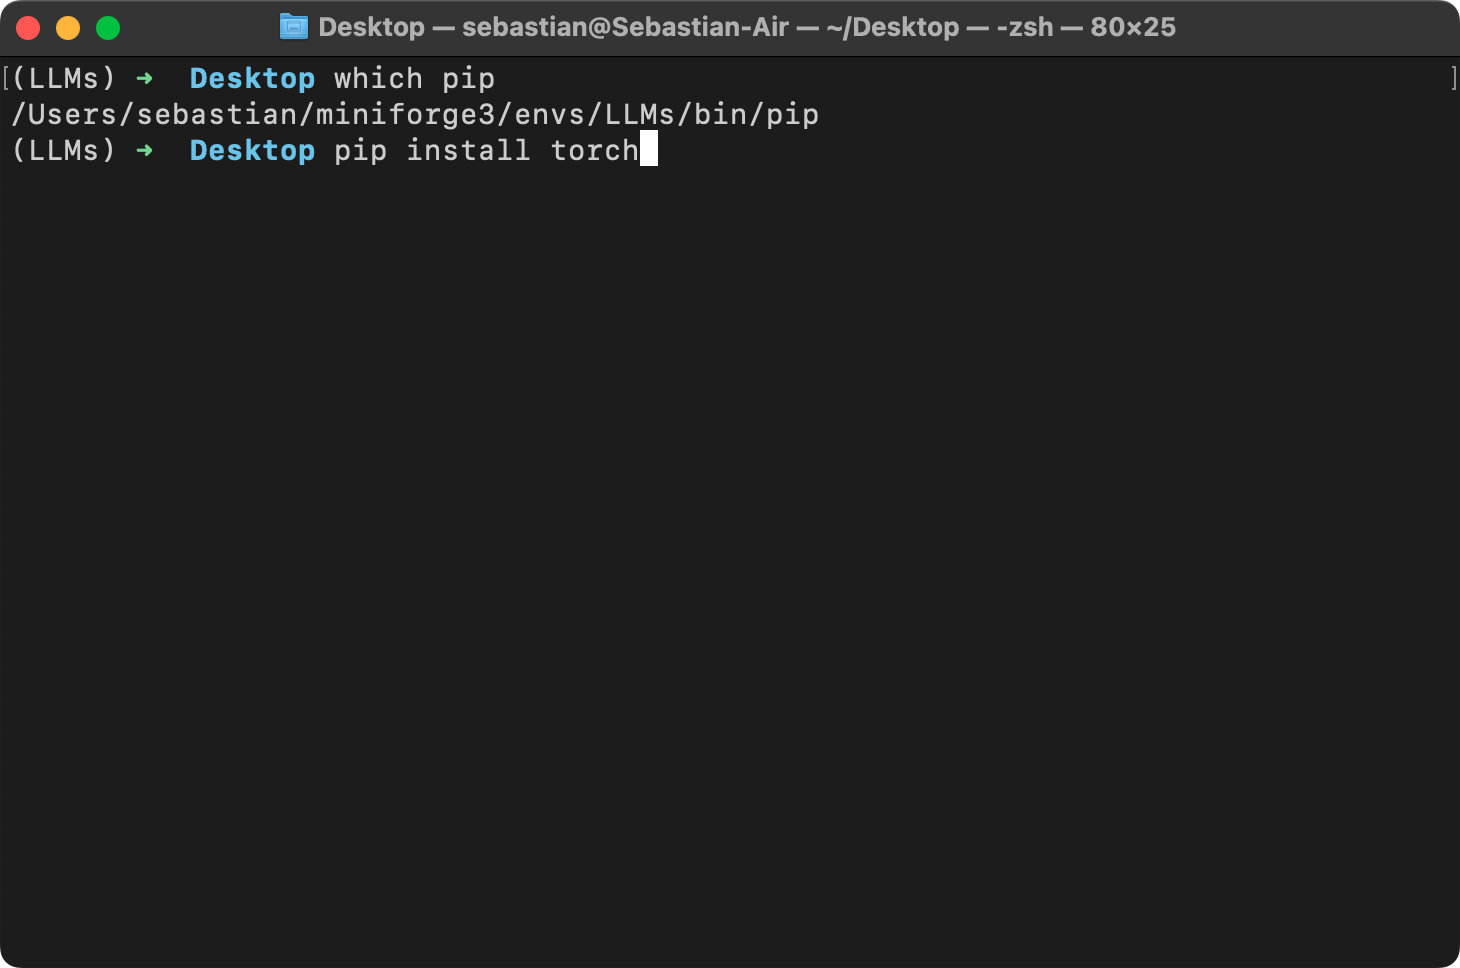
4. Install PyTorch
PyTorch can be installed just like any other Python library or package using pip. For example:
pip install torch
However, since PyTorch is a comprehensive library featuring CPU- and GPU-compatible codes, the installation may require additional settings and explanation (see the A.1.3 Installing PyTorch in the book for more information).
It's also highly recommended to consult the installation guide menu on the official PyTorch website at https://pytorch.org.

5. Installing Python packages and libraries used in this book
Please refer to the Installing Python packages and libraries used in this book document for instructions on how to install the required libraries.
Any questions? Please feel free to reach out in the Discussion Forum.